
Table of Contents
ToggleWatering indoor plants sounds straightforward until you’ve accidentally drowned a succulent, splashed soil across your coffee table, or tried to maneuver a gallon jug over a fiddle-leaf fig. That’s where a small watering can becomes essential gear. Unlike the heavy-duty models designed for outdoor gardens, small indoor watering cans offer precision, control, and the capacity to water plants tucked on shelves, windowsills, or hanging planters without making a mess. This guide covers everything you need to know to pick the right one for your plant collection.
Key Takeaways
- A small watering can for indoor plants prevents overwatering, the leading cause of houseplant death, by providing precision control with 0.5 to 2-liter capacity.
- Optimal spout design should be long (6-8 inches), narrow (1/4 to 1/2 inch diameter), and slightly angled to reach dense foliage without disturbing plants or causing spills.
- A 1 to 1.5-liter small watering can is the ideal capacity for most indoor collections, offering enough water for 5-10 medium pots while remaining lightweight and easy to control with one hand.
- Water the soil directly rather than foliage to prevent fungal issues and water spots, and always water until drainage appears at the bottom to flush mineral salts and ensure root hydration.
- Lightweight plastic or stainless steel materials outperform heavier ceramic options for frequent use, while top-mounted handles provide better control for overhead plants on shelves and hanging baskets.
Why Small Watering Cans Are Essential for Indoor Plant Care
Indoor plants need consistent but measured watering, and that’s tough to pull off with a pitcher, cup, or outdoor watering can. Small watering cans, typically holding 0.5 to 2 liters (about 17 to 68 ounces), give you the control needed to avoid overwatering, which is the leading cause of houseplant death.
A smaller vessel means less weight when full, which matters when you’re reaching above head height or holding the can at an angle to water plants on upper shelves. The reduced capacity also encourages more intentional watering. Instead of dumping water until it drains out the bottom, you’re forced to measure how much each plant actually needs.
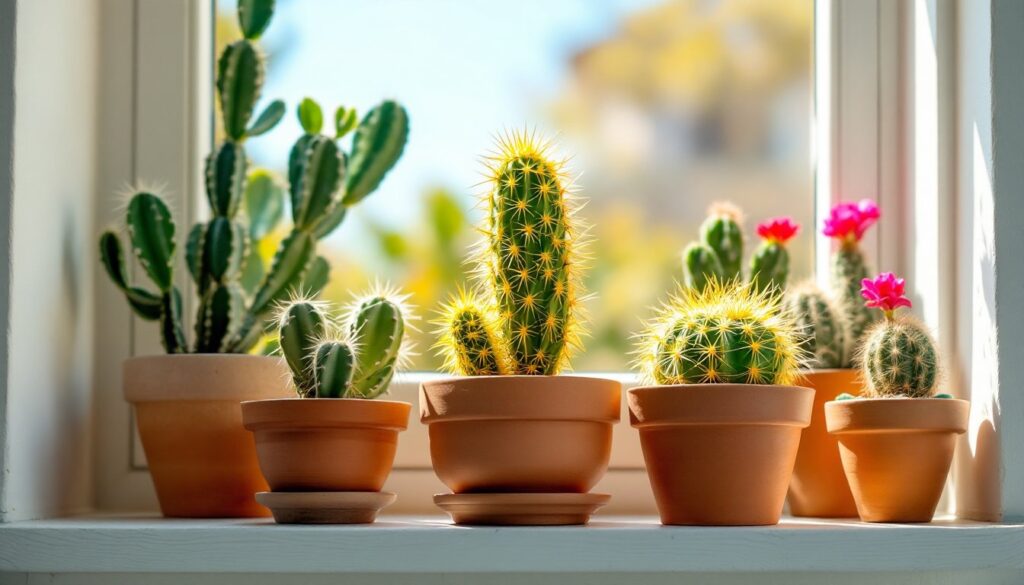
Precision matters most with common indoor house plants that have varying moisture requirements. Succulents need infrequent, shallow watering. Ferns prefer consistent moisture. A small watering can with a narrow spout lets you target the soil without soaking leaves, which can lead to fungal issues or water spots on foliage.
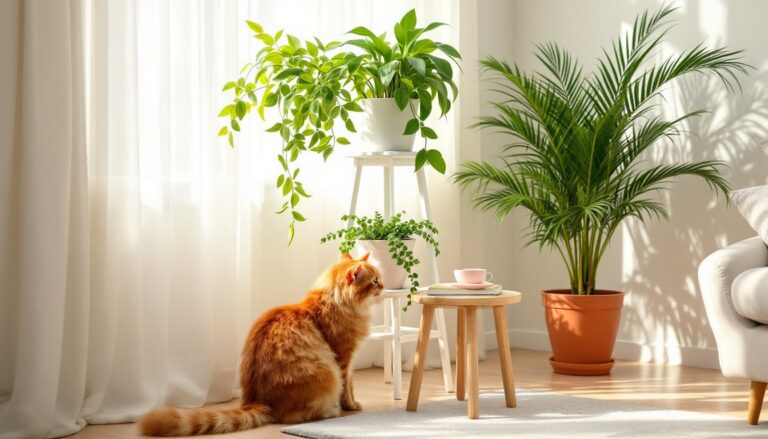
Another advantage: maneuverability in tight spaces. If your plant collection lives on floating shelves, tiered stands, or crowded windowsills, a compact can fits where larger options won’t. You can water without rearranging half your decor.
Key Features to Look For in a Small Watering Can
Not all small watering cans are created equal. The right features make the difference between efficient watering and a frustrating experience.
Spout Design and Precision
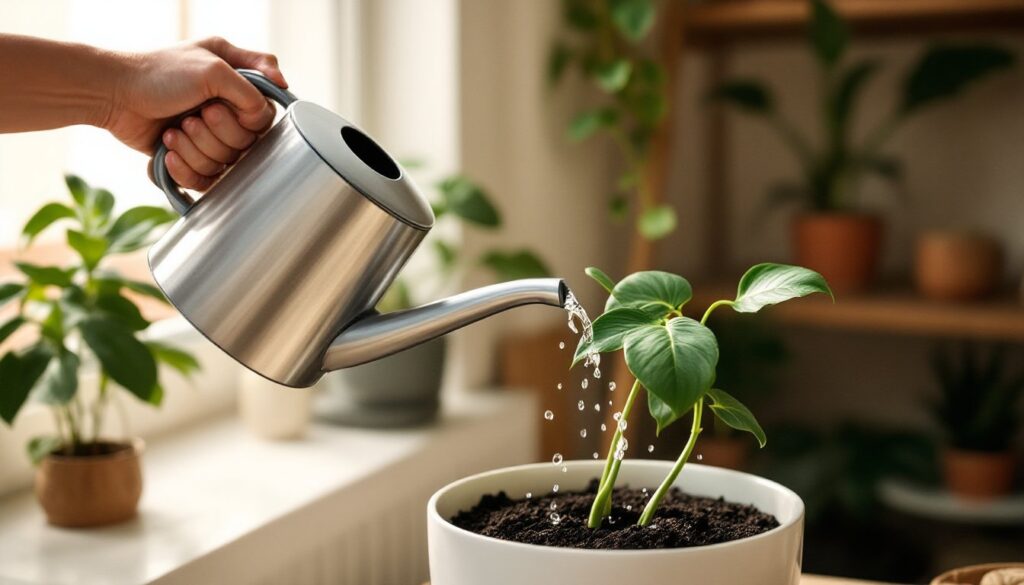
The spout is the most critical component. Look for a long, narrow spout (at least 6 to 8 inches) that allows you to reach into dense foliage or between stems without disturbing the plant. A narrow opening, around 1/4 to 1/2 inch in diameter, delivers a controlled stream rather than a flood.
Some models include a removable rose (the perforated cap that creates a shower effect). This is useful for seedlings or delicate plants that can’t handle direct streams, but most indoor plant owners prefer a straight spout for precision. If the rose is removable, that’s a bonus for versatility.
Angled spouts matter, too. A spout that curves upward from the base lets you tip the can without spilling from the opening. Check that the spout attaches securely to the body, cheap welding or loose fittings will leak.
Capacity and Weight Considerations
Capacity is a balancing act. Too small (under 0.5 liters), and you’ll make endless trips to refill. Too large (over 2 liters when full), and it becomes awkward to hold at arm’s length.
For most indoor collections, 1 to 1.5 liters (34 to 50 ounces) is the sweet spot. That’s enough to water 5 to 10 medium-sized plants (6-inch pots) without constant refilling, but light enough to control with one hand.
Material affects weight. Plastic cans weigh 4 to 8 ounces empty and are the lightest option. Stainless steel weighs 10 to 16 ounces empty but won’t crack or fade. Ceramic or glass models are heavier (12 to 20 ounces empty) and more decorative but can chip. If you have a large plant collection or limited grip strength, stick with plastic or thin-gauge stainless steel.
Handle design matters as much as weight. A top-mounted handle (like a traditional watering can) gives better control when pouring at an angle. A side handle (pitcher-style) works if you’re watering at table height but can be awkward for overhead shelves.
Different Types of Small Watering Cans for Indoor Use
Small watering cans come in several styles, each suited to different plant setups and preferences.
Long-Spout Watering Cans: These are the workhorses of indoor plant care. The spout extends 8 to 12 inches and curves slightly upward. They’re ideal for reaching plants on shelves, watering hanging baskets from below, or targeting the soil in dense foliage. Most hold 1 to 2 liters. Look for models with a comfortable grip and a spout that doesn’t drip after you stop pouring.
Haws-Style Watering Cans: Named after the British manufacturer, these feature a cylindrical body with a top handle and a long, curved spout. The design balances weight distribution, making them easier to hold when full. They’re popular with serious plant collectors and often come in brass, copper, or powder-coated steel. Expect to pay more, $30 to $70, but they last for years.
Mister and Watering Can Combos: Some compact models include a detachable spray nozzle or mister attachment. These are useful if you grow humidity-loving plants like orchids, calatheas, or ferns that benefit from leaf misting. The watering can portion is usually smaller (0.5 to 1 liter) to keep the overall tool lightweight.
Decorative Ceramic or Glass Cans: If the watering can sits out on display, ceramic or colored glass models add to your decor. They function the same as plastic or metal but are more fragile. Check that the spout is properly sealed to the body, poorly made ceramic cans can leak at the joint. These work well for small collections (5 to 10 plants) where you won’t be hauling water across multiple rooms.
Squeeze-Bottle Style Cans: Technically not a traditional watering can, but soft plastic squeeze bottles with narrow spouts (like condiment bottles) give you pinpoint control. They’re excellent for tiny pots, terrariums, or plants with crowns that rot if water sits on them (like African violets). Capacity is limited, usually 8 to 16 ounces, so they’re best as a supplement to a larger can.
According to home care guides on The Spruce, matching your watering tool to your plant types prevents both under- and overwatering issues.
How to Use a Small Watering Can for Optimal Plant Health
Owning the right tool is only half the job. Here’s how to use a small watering can to keep plants thriving.
1. Water the Soil, Not the Leaves: Position the spout close to the soil surface and pour slowly. Avoid splashing water onto foliage, especially for plants prone to fungal issues (begonias, African violets, succulents). Wet leaves can develop spots or mold, particularly in low-light or high-humidity environments.
2. Pour Until Water Drains from the Bottom: For most potted plants, water until you see runoff from the drainage holes. This ensures the entire root ball gets moisture and flushes out mineral salts that build up from tap water or fertilizer. Place a saucer or tray under the pot to catch excess water, then empty it after 10 to 15 minutes so roots don’t sit in standing water.
3. Adjust Volume Based on Pot Size and Plant Type: A 4-inch pot might need only 1/4 cup of water, while a 10-inch pot could take 2 to 3 cups. Succulents and cacti need less frequent watering (every 2 to 3 weeks), while tropical plants may need water weekly or more. Use the can’s capacity as a rough guide: a 1-liter can holds about 4 cups, so you can gauge how many pours per plant.
4. Check Soil Moisture Before Watering: Stick your finger 1 to 2 inches into the soil. If it feels dry, water. If it’s still moist, wait. Overwatering kills more houseplants than underwatering. A small watering can makes it easier to give just what’s needed rather than dumping in excess.
5. Use Room-Temperature Water: Fill the can and let it sit for an hour or overnight before watering. This brings the water to room temperature (which roots prefer over cold tap water) and allows chlorine to evaporate. If your tap water is heavily chlorinated or hard, consider filtering it or using collected rainwater.
6. Clean the Can Regularly: Mineral deposits and algae can build up inside the can and spout, especially if you use tap water. Rinse the can with a vinegar solution (1 part white vinegar to 3 parts water) every few weeks, then flush with clean water. This prevents clogs and keeps the spout flowing smoothly.
For plants that have been neglected or are showing signs of stress, techniques from home plant rescue guides often start with adjusting watering habits and tools. Experts at Better Homes & Gardens also emphasize that consistent watering routines contribute more to plant health than sporadic deep watering.
Conclusion
A small watering can isn’t just a nicer way to water plants, it’s a practical tool that improves accuracy, reduces mess, and helps you develop better watering habits. Focus on spout length, capacity that matches your collection size, and a comfortable handle. Whether you choose a lightweight plastic model for a few windowsill succulents or a long-spout stainless steel can for a packed plant shelf, the right tool makes indoor plant care less guesswork and more routine maintenance.